

Getting started with Python


Python is a very popular programming language these days. It is commonly used to develop websites, software, task automation, data analysis and data visualization.
In this blog, we will cover how to set up a development environment for Python.
Installing Python on MacOS
There are multiple ways to install python these days. However, we will use Homebrew, a package manager for MacOS to install Python on MacOS.
Install Homebrew
Paste the following command in the MacOS terminal to install Homebrew
$ /bin/bash -c "$(curl -fsSL https://raw.githubusercontent.com/Homebrew/install/HEAD/install.sh)"
Install pyenv
The best way to manage python versions on Mac is by installing a simple python version management tool which can be installed on many operating systems mentioned here.
To install it on MacOS using Homebrew use the following command:
$ brew install pyenv
You want pyenv to run every time you open your prompt, so include the following in your configuration files (by default on MacOS, this is .bash_profile in your home directory):
Use the following command to edit the bash profile on MacOS
$ vi ~/.bash_profile
By adding these lines, every new terminal will initiate pyenv to manage the PATH environment variable in your terminal and insert the version of Python you want to run
$ cd ~/
$ echo 'eval "$(pyenv init -)"' >> .bash_profile
Before installing your preferred version of Python, you'll want to install a couple of helpful tools:
$ brew install zlib sqlite
The zlib compression algorithm and the SQLite database are dependencies for pyenv and often cause build problems when not configured correctly.
Add these exports to your current terminal window to ensure the installation completes:
$ export LDFLAGS="-L/usr/local/opt/zlib/lib -L/usr/local/opt/sqlite/lib"
$ export CPPFLAGS="-I/usr/local/opt/zlib/include -I/usr/local/opt/sqlite/include"
Now after the above pre-requisite are complete, it's time to install a preferred version of Python.
Install python
We will install the latest version available which is 3.10.10 as of writing.
$ pyenv install 3.10.10
Add Virtual Environment
Next, make this version as default version to be used globally:
$ pyenv global 3.10.10
# Be sure to keep the $() syntax in this command so it can evaluate
$ $(pyenv which python3) -m pip install virtualenvwrapper
Open your .bash_profile again and add the following to be sure it works each time you open a new terminal:
# Virtual environment directory
$ echo 'export WORK_HOME=~/.virtualenvs' >> .bash_profile
# Make a virtual environment directory, If one does not already exist
$ echo 'mkdir -p $WORK_HOME' >> .bash_profile
# Activate the new virtual environment by calling this script
$ echo '. ~/.pyenv/versions/3.10.10/bin/virtualenvwrapper.sh' >> .bash_profile
Close the terminal and open a new one (or run exec /bin/bash -l to refresh the current terminal session), and you'll see virtualenvwrapper initializing the environment:
exec /bin/bash -l
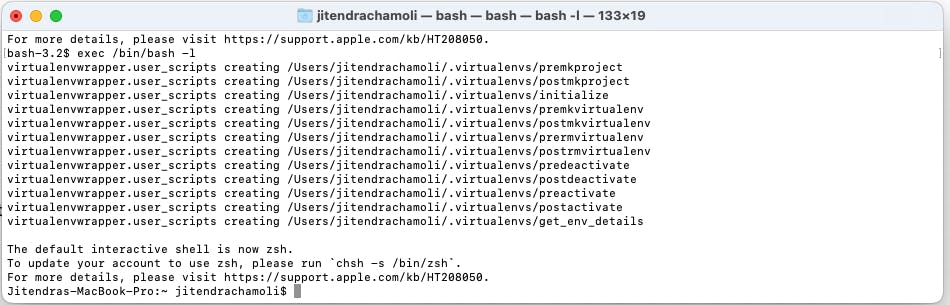
It will show output like the above to set up a virtual environment. Now we can set up a test environment.
mkvirtualenv test1
The above command will create a test1 environment and you can also switch between multiple virtual environments.
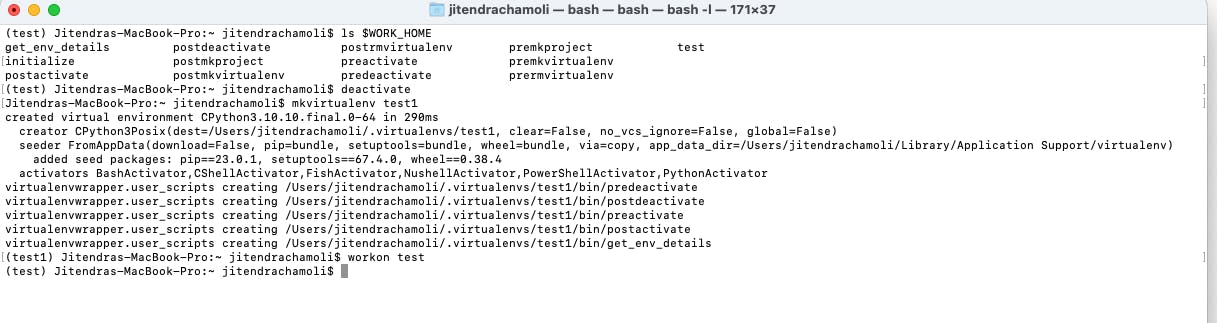
To exit from the current virtual environment, use deactivate command and remove any existing virtual environment use rmvirtualenv command.
To work on an existing virtual environment use workon command to switch to that virtual environment.
$ workon venv_name
That's it, the development environment setup is complete. In case, you would like to use any specific python version in another python virtual environment. Use the following command:
mkvirtualenv -p python3.9 test3
Thank you. See you in the next blog.